Howdy Folks!!
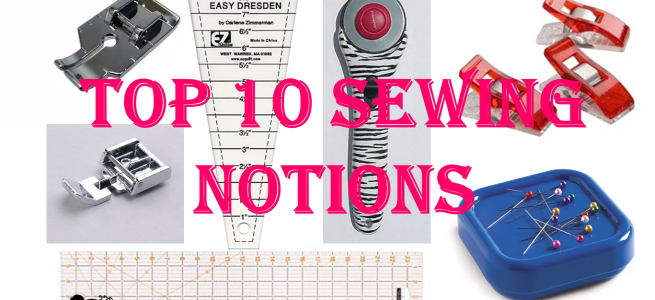
When thinking about what I was going to write for my next blog post, I completely drew a blank. As I was sitting there, I got to thinking that I really wanted to play with some of my sewing “toys” when I got home and thought “THAT WOULD MAKE AN AWESOME BLOG POST!!” So here it is, my top 10 sewing notions that I use, pretty much on a daily basis.
**PLUS** There is an honorable mention at the bottom.
This list is in no particular order and I’m sure that I will think of more things as I lay in bed tonight. I am not affiliated with any of these items listed, I just really enjoy using them.
- Quarter Inch Foot

This is the 1/4 inch foot that I have and I love it!! I actually got another one for Christmas a couple of years ago but it was before I realized my sewing machine actually came with one. Some 1/4 inch feet have a guide along the side to make sure that the fabric doesn’t go beyond the 1/4 inch seam allowance, which I believe my other foot has attached to it. I typically use this when I am piecing a quilt/block together as most of them require the 1/4 seam allowance. One thing I learned as I was sewing more and more was how important it was to have accurate seams. It’s amazing how much an inaccurate seam allowance can throw off a quilt block. One thing you have to pay attention to, which I actually talked about in my previous blog post found here, is making sure that your sewing machine needle doesn’t have a default setting that is not centered. This will cause your needle to go down onto the metal plate, which as you can imagine, is not very good for your needles.
2) Dresden Template
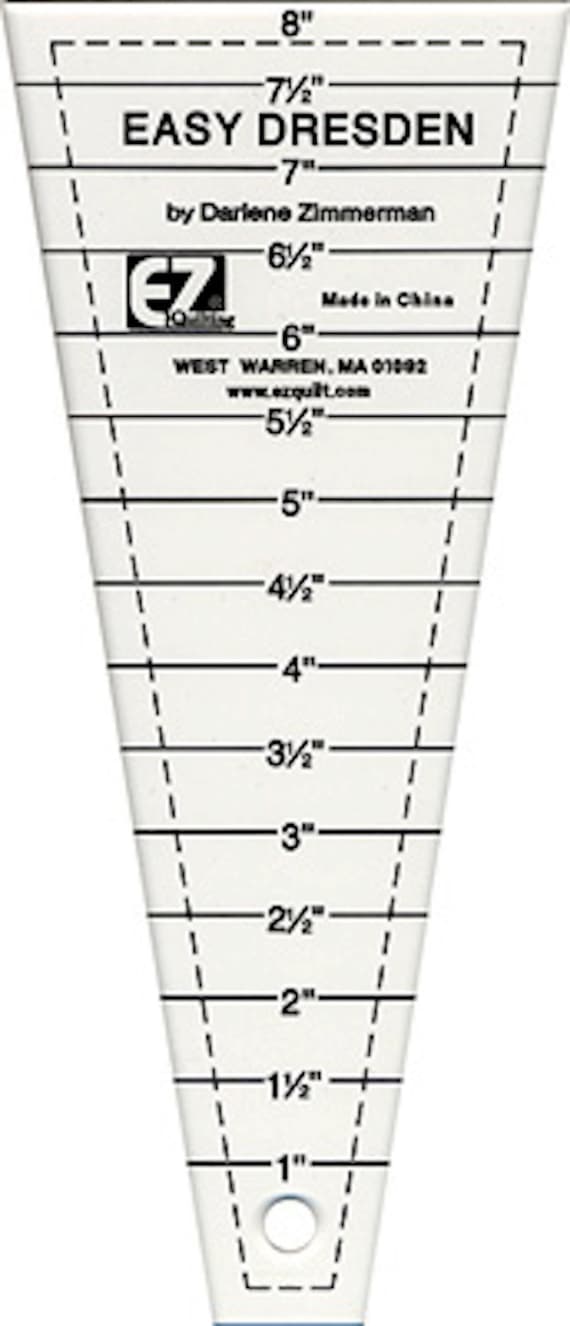
This little 8 inch piece of acrylic is AWESOME!! One of Josh’s family members got it for me for Christmas a couple years ago and I am so in love. As you can see, you can use different sizes of fabric to create a different look. I believe some Dresden’s may go up to 10 inches, which can be used on a layer cake.

I made this super cute Dresden clock last year using 5 inch charm packs. As you can see, even with the 5 inch blocks, it still makes a pretty big Dresden plate. I plan to eventually make a flower out of it, but I haven’t quite gotten that far down my project list.
3) Zipper Foot

Much like by 1/4 foot, my zipper foot is a very popular and sees my sewing machine a lot. I know a lot of people don’t like sewing zippers, but it is actually one of my favorite things to do!! Once the technique clicks (sandwiching the fabric and zipper the correct way) you will love it too. It’s actually like riding a bike. I love that you are able to move the foot to one side or the other, depending on which side your zipper is on. I have also discovered that the zipper foot works really good when topstitching. I typically like using it when I an topstitching next to a zipper. Just nest the edge of the fabric under the lip (where the zipper teeth would normally go) and you will have a straight topstitch for days!! (I’ll post a picture of this technique when I get a chance to do it again.)
4) Rotary Cutter

This is the rotary cutter that I use. It’s a Walmart special. If you enjoy sewing, not even just quilting, this is something that you MUST OWN! Don’t make the mistake that I made, though. Before I realized that this is supposed to be used with a cutting mat, I used it on a wooden cutting board. I could not figure out why it didn’t work so I took it back to Walmart assuming that I had just gotten a cheap one (this was a different one than this particular one). Then I got one for my birthday and those folks also got me a cutting mat to go along with it and boy did it make a big difference. I also recently bought a smaller one for cutting smaller pieces, which is awesome!! One more dummy thing that I did recently was accidentally put two rotary blades on at the same time. When you get a new set of rotary blades, they come covered in oil. Well I was using it and I couldn’t figure out why my fabric kept fraying, that is until I could see the two of them stuck together from the oil. Needless to say, once I realized this issue, it was quickly resolved.
5, 6, 7) 12 x 12, 4 x 10 and 6 x 24 Acrylic Rulers


Numbers 5, 6, and 7 have got be my 3 favorite acrylic rulers (sorry I couldn’t find a 4×10). First up is the 12 x 12 inch acrylic ruler. This is a really great ruler for squaring up my quilt blocks. For blocks with a 45 degree seam, just line it up with the appropriate degree on the ruler and square it up.
Next up is my 4 x 10 inch acrylic ruler. I really love this ruler for when you are working with smaller pieces of fabric. It’s not too bulky and just really easy to handle and cut fabric with.
The final ruler is the newest to my collection and it is my 6 x 24 inch ruler. This is a really great ruler for when you are cutting bigger pieces of fabric from the piece that comes off of the bolt (like when you get a yard from Joann’s or Walmart). I was so excited when I got this ruler, b/c it was just nice to be able to cut things that were bigger than 12 inches…. it also goes really well with my cutting mat that is coming up next 🙂
8, 9) 12 x 18 and 24 x 36 inch cutting mat

Hang with me folks, I’m almost done. Here is one of the most used items that I have and that is my cutting mats (notice that this is not made of acrylic, Josh). The 12 x 18 inch mat is obviously used for cutting smaller projects, which is very handy. I like to use my 24 x 36 inch mat for my big projects (typically used with my 6 x 24 inch acrylic ruler). You will actually be surprised how many projects actually require a bigger surface than 12 inches and that is where this mat really comes in handy. It was a birthday present this past year and I was ecstatic when I saw it wrapped in wrapping paper (it’s kinda hard to disguise this).
10) Wonder Clips

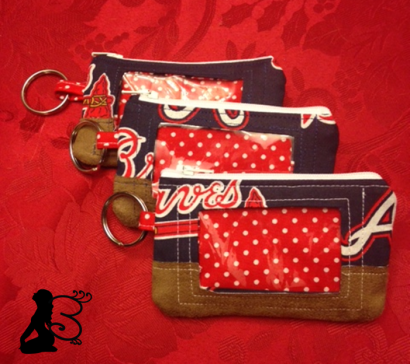
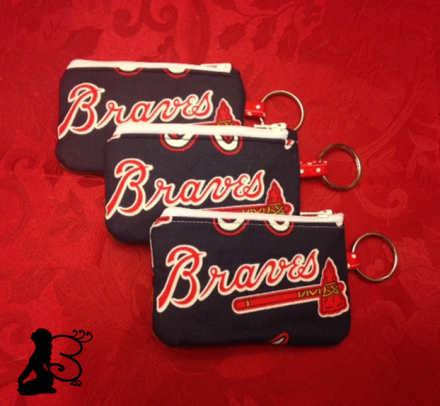
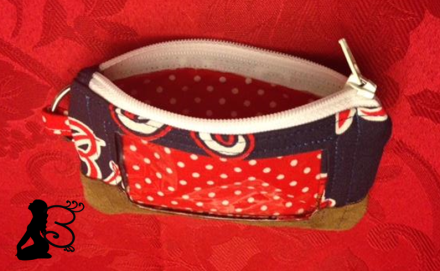
For anyone that is currently sewing, they have heard of the wonder clips. I probably use these now more than I use pins. They are so convenient and easy to use. I mostly use them for when I am sewing a binding or anything other than a straight seam. Another great use for them is when I am sewing with vinyl and I don’t want to puncture my fabric. For all the ladies out there…. these things are like bobby pins to me, you know you have tons, however you can never find them.


Both of these items are lined with vinyl and I was unable to use pins when I was sewing them together. This wonder clips were wonderful and kept everything together for me. (The cBa toiletry bag is the Hang About Toiletry Bag created by Two Pretty Poppets and the pattern can be purchased here. Lisa from Two Pretty Poppets even has a sew along that you can follow!! The Aztec looking toiletry bag was is the Rollie Pollie Organizer created by Cozy Nest Designs and can be found here.)
*Bonus*
Flower Pot Pincushion/Tape Measure
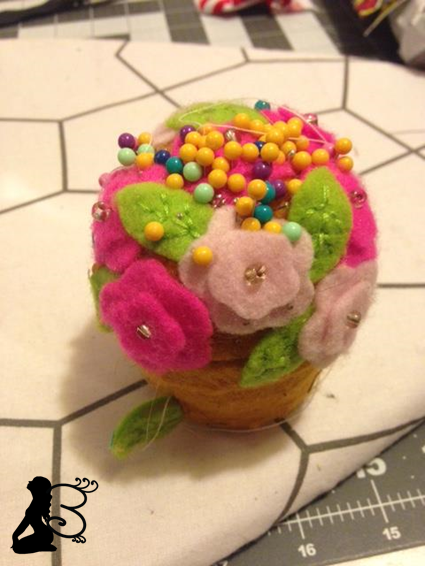
When I first started sewing, my awesome mother-in-law got me this little gem. I did not realize that I would use it as much as it do. It is a flower pot pin cushion and has a little leaf on the side that acts as a tape measure. I have not been able to find this sucker anywhere else (even when I can remember who makes it). If any of you can get your hands on this awesome tool, I definitely recommend it!!
One more thing…….

Ok so after I wrote about my bonus item, I had to do an honorary bonus item. This is a magnetic pincushion and is also pretty amazing. This is fantastic when you are sewing in a hurry and lay your pins on the table or spill all your pins all over the floor (which I would NEVER do 😉 hehe). All you do is run it over where your pins are and it picks them up for you. VERY CONVENIENT!!
Ok folks, that’s about all I have for today. I hope this has been informative and you have learned a thing or two about all (well some) of the fancy sewing notions that are out there for you to try. Obviously there are several (LOTS) more that I have but just left off the list. Let me know what sewing notions are your “go to” items!!
Until next time.
Brittany 🙂