Since graduate school is done for the next little bit, I now have some time to sew and then blog about sewing!! So sorry I’ve been slack, this semester was a rough one that I am so glad is DONE!!
For those of you that are familiar with my history of how I got started sewing, know that I learned a lot of what I know from YouTube. It is because of them, I know what I know today. (Wow, that’s a lot of “knows”.) Anyways, I just wanted to give a shout-out to them to thank them for introducing a super awesome hobby to me and to recommend them to any of you new and veteran sewers out there. I do also need to give a shout-out to my awesome mother-in-law for her assistance in helping me sew my first article of clothing.
Obviously I watch more than 10 YouTube channels, so I will add a couple of honorary mentions at the bottom.
These YouTubers are in order and it may not be by the ones that I watch the most, but by how much I just enjoy their videos.
10 – Sewing Parts Online
I discovered Sewing Parts Online when I was looking into how to use different sewing feet. They have lots of tutorials on how to use more sewing feet that you will ever know that existed. The way they explain everything is just simple to understand. They have definitely added a lot more videos since I was last at their channel.
9- Amanda Rolfe

Amanda Rolfe’s YouTube channel is The Amanda Rolfe and her blog is 3 and 3 quarters. Amanda is a quilter from Australia (you’ll find that a lot of my favorites live overseas and I just love hearing them talk). There is just something about her that makes me have a friend crush on her. She sews a lot of modern quilts which typically isn’t my thing, but her fabric choice is always on point. She is very quirky and is just herself whcih is why I enjoy watchering her.
8 – Man Sewing/Rob Appell

What can I saw about Rob Appell? There is no one else like him out there. He is a just a rad quilting dude and that is the only way to describe him. He can be found on YouTube here and multiple blogs here and here. I discovered him when he and Jenny Doan from Missouri Star Quilt Company (MSQC – below) did a video together, The Three Dudes Quilt and I totally fell in love with the way he does his videos. The first thing you notice when you watch his videos is his awesome latin music intro and then he is just so hyped about sewing it’s contagious. “Cool” is not a word that people typically think of when they think if sewing quilts, but he totally sells it!!
7 – Whitney Sews
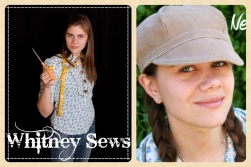
I am totally in love Whiteny Edwards’s YouTube channel. She is nerdy and likes to flaunt it. Whitney has vidoes from her Cosplay costumes to her fabric swaps. She also talks about her love for thrit stores and getting as many sewing patterns as she can. Whitney may not be for everyone, but I totally love her videos!!
6 – Professor Pincushion

Professor Pincushion is one of the YouTube channels that has a little bit of everything sewing related. If you want to learn how to do it, Professor Pincushion will show you how. She also has a blog that coincides with her YouTube channel. She has everything from button holes, to attaching pockets, to understanding sewing patterns.It just has everything and if you’ve thought about maybe trying something new, you should definitely check her channel out.
5 – Melanie Ham/I Heart Stitching

Melanie Ham does sewing and craft tutorials and can be found here. Melanie is one of those people that just brings you in and explains what she does so well. She does smaller tutorials that can be knocked out in a couple hours, but the way she makes her items makes them very high quality. Y’all should definitely go and check her channel out.
4 – Debbie Shore

Debbie Shore is another one of my fun overseas YouTubers. Her videos, that can be found here, are so easy to follow and she does a really great job at dumbing things down. She is probably one of the first people that I watched that helped me learn how to make a basic tote bag, one of which can be found here. She is really fun to watch and, like everyone else I have listed, I definitley recommend her.
3 – Deby Cole/So Sew Easy

Deby Cole is the voice behind So Sew Easy and she is very similar to Debbie Shore (#4). She does a lot of simple tutorials for projects that can be completed in an afternoon, which I really appreciate. She is actually the one that got me into the Swoon Patterns. She did a tutorial on the Swoon Della Wallet Clutch and I fell in love with it, which is why I ended up purchasing the Pearl Wallet Clutch (review from my blog can be found here). More recently, I ordered the Della and I can’t wait to put it together. It definitely looks a lot simpler than the Pearl, so hopefully I won’t have any issues….. Anyway back to Deby…. Another thing that I like about her is that she isn’t afraid to make mistakes and then point them out for her audience so they won’t make the same one that she did. Making mistakes is an important part of the learning process and she has made sure that other people have learned from her mistakes. ALSO, one more thing I love about Deby is that she has only been sewing about as long as I have and you can read a little more about her on her blog found here. One of my favorite people to watch on YouTube so go watch her……. NOW!!
2 – Crafty Gemini/Crafty Gemini Creates

For those of you that do anything sewing related, you have heard of Vanessa from The Crafty Gemini and Crafty Gemini Creates. (*Note, I just found her Spanish version of her YouTube channel La Crafty Gemini, how cool is that!!) Anyways, she has lots of great quilting tutorials and was the one who taught me how to bind a quilt by hand, which can be found here (I think there was also one more YouTuber who had some input, but I’m not sure who it was.) She was also the very first podcast I ever listened to (it wasn’t hers, but it was someone else’s and she was a guest) and I was totally intrigued. That was when I knew I had an obsession…. when I listened to a quilting podcast and I was actually able to pay attention without rewinding it every 3 minutes. She also told me about Tuesday Mornings, which I always stop at whenever I am in a town that has one in hopes of finding that awesome sewing machine needles deal that she keeps managing to find. I could go on and on and on about her, but I think you should go find out for yourself. P.S. she has 2 blogs found here and here.
Ok, finally moving on to numero uno.
Drum roll please……..
DADADADADADADADADADADADADA (<<< this is my typing version of a drum roll)
1 – Missouri Star Quilt Company (MSQC)
Well I know that my husband certainly knew that this one was coming. If you’ve heard of Crafty Gemini, then I KNOW you’ve heard of Jenny Doan from Missouri Star Quilt Company. All the guys out there know exactly when their significant others are watching and MSQC video, and if they are like Josh, they make the “quack” noise at the end of their little jingle (which if you actually watch the video, you see that the “quack” is made by a chick and not a duck, but who cares, it’s still awesome!!) I have such a huge friend crush on Jenny Doan and when I go and visit my sister at Vet School at Kansas State (yes Kaitlyn, I do plan on visiting you), I totally want to make the drive to Hamilton, Missouri to visit their shops. They have multiple shops, which actually is a majority of the strip in their tiny town, and each shop has its own theme. They have holiday, batiks, solids, FLORALS (I’m a little excited about this one), licensed, solids, notions shops. (*Note: I’m not sure if this is 100% accurate, however I do believe it is mostly accurate and if not, then they should totally take my recommendations for these shop themes). Crafty Gemini actually does a tour of her shops on her video which can be found here. (When I went to find the video to attach it through a hyperlink, I totally almost forgot to tell y’all about the retreat center that she has!!!) They also have a Man Land for those fellas that get dragged to Hamilton by their lovely spouses. Oh my goodness, I have gone on and on about her shop, but I haven’t even talked about her videos….. THEY ARE FANTASTIC!! Jenny does a different quilt/block each week and it really simplifies it. She also uses a lot of templates and shows the different ways to use them. I actually just found a second channel that they have!!! AHH!!! It is called Talk Quilting. I can’t say anything about it because I didn’t know it existed until, just now, but you best believe I will be binge watching them once this post has been published. Much like Crafty Gemini, I can go on and on and on about MSQC, but I think you should just go check her out yourself.
Well now that I have probably his my hyperlink limit, I’ll leave you with a few honorary mentions. I have watched some of these and I know some of them are popular among other folks. They are Angela Clayton, April Wilkerson, Leah Day, Fat Quarter Shop, Fons and Porter, MadeByMarzipan, and Quilt in a Day.
Well, it’s about bed time for me so I’m gonna let you go so you will have a chance to check out all of these people. Let me know if there is anyone else that y’all follow on any type of social media as I am sure that I have left several folks out.
Until next time,
~Brittany


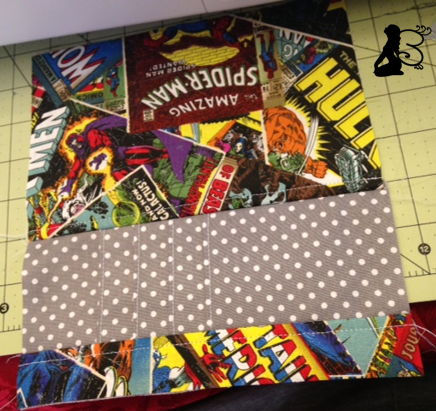


 Pic 1
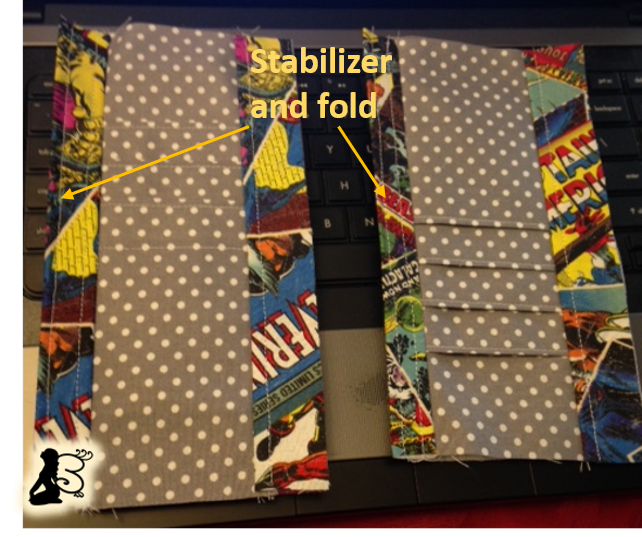
Pic 1 Pic 2
Pic 2 Pic 3
Pic 3 Pic 4
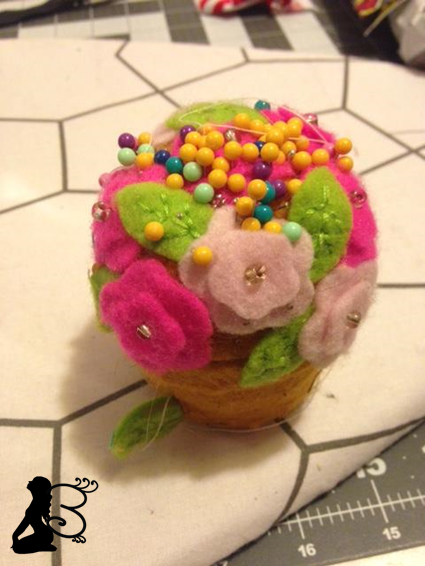
Pic 4 Pic 5
Pic 5